After more than 20 years, the drywall above the shower enclosure in one of our bathrooms started to attract some mildew and the paint began to peel. To repair this problem correctly requires some major work that involves multiple steps that take place over a few days — (cut and remove bad sections, cut and replace with new drywall, vacuum drywall scrap from shower, apply drywall tape and first spackling, sand first spackling, vacuum again, apply second spackling, sand again, vacuum again, wipe-down walls, paint walls, wash out shower, caulk joints).
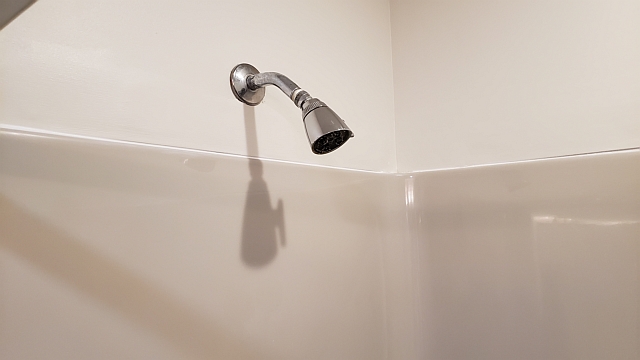
The first photo shows the starting condition with the wallboard tape separating and the paint peeling from the surface. After removing everything from the shower and covering the drain, the first step involves cutting-out the old wallboard that has absorbed the water damage and replacing with new drywall.
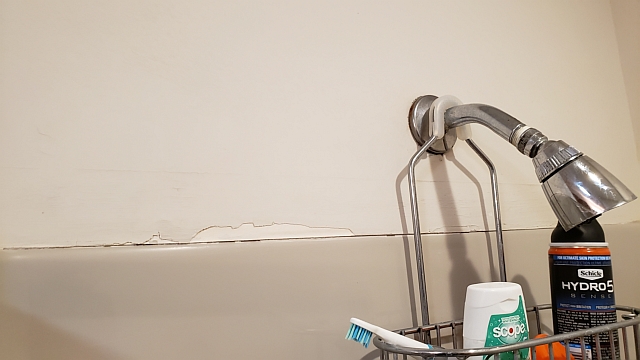
The photo below shows a portion of the shower after a 36″ x 2″ section has been cut and removed.

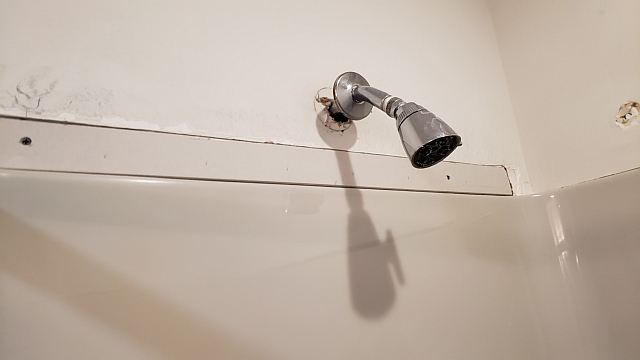
The photo below shows the status after cutting a new piece of drywall and mounting with screws to replace the removed section (with the finished, tapered ends of the new drywall positioned adjacent to the shower surround).
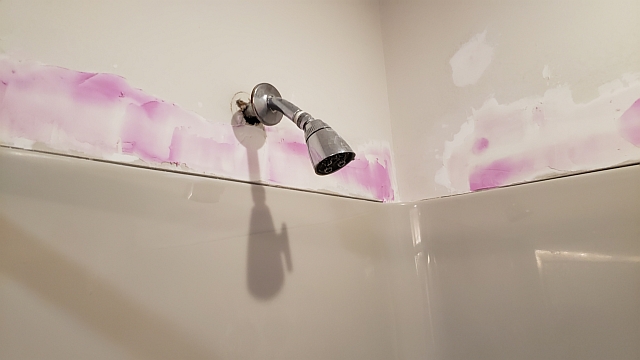
The photo below shows the status after applying the fiberglass drywall tape and applying the first layer of spackling (This is a Dap spackling compound the changes color to white after it dries — frankly it’s a useless feature).
The photo below shows the repair after the second spackling application and the sanding has been completed.
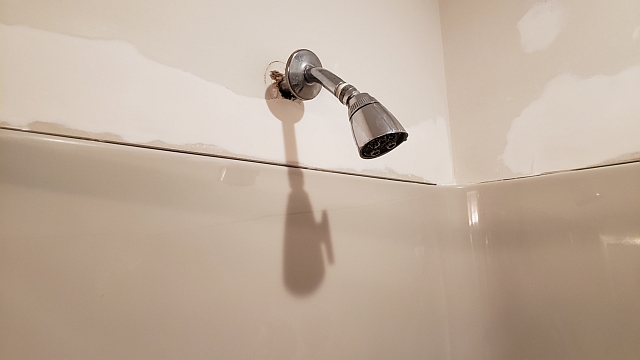
The photo below is the final step where I painted the drywall with semi-gloss (satin) anti-bacterial paint, and completed the job by finish caulking between the shower surround and drywall.