Update
Phase 3 is now complete. My buddy, Redman, showed up to help me mount the backboard, rim and net. I also planted sod around the concrete base. The combination of the solid pole filled with concrete and rebar, along with the glass backboard makes for very nice play.

April 24, 2016
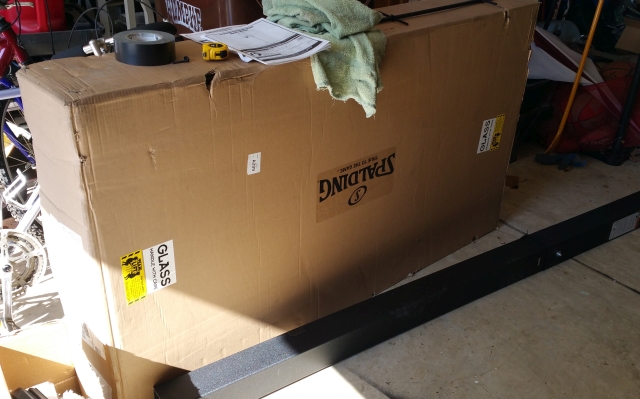
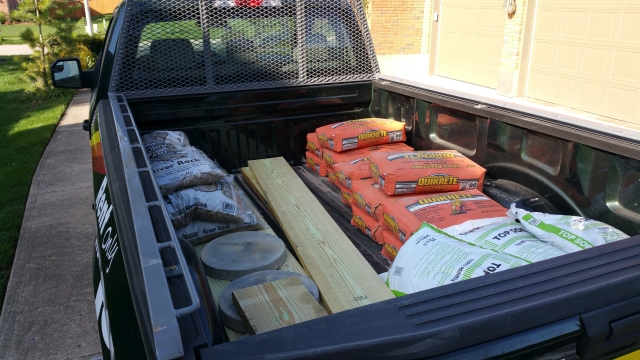
Phase 2 of three phases of the solo installation was completed this weekend (Phase 3 is the installation of the glass backboard planned for next weekend). The large Spalding box was delivered on Friday (see first photo below), but the real work started at 7:00am on Saturday with a visit to Menards to buy the necessary building materials and to rent the delivery truck. It was a workout just picking up the nearly 1,000 pounds of concrete and loading them into the bed of the truck (see second photo below).
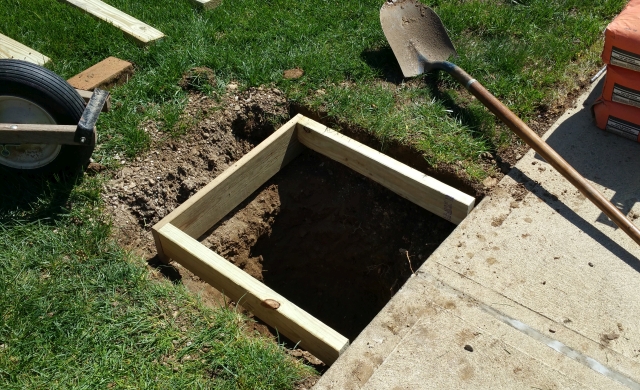
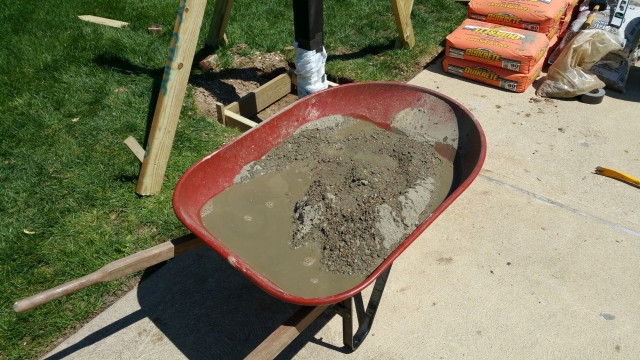
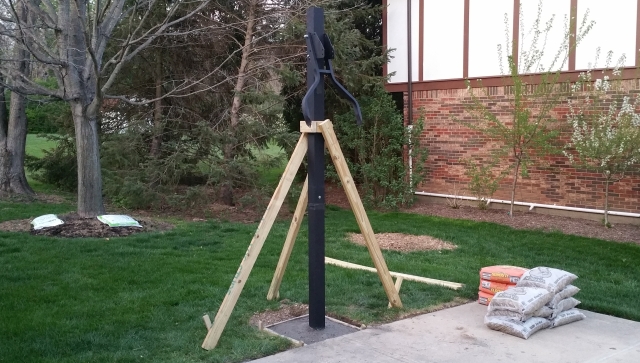
I enlarged the original hole to a full cube 2′ x 2′ x 2′ and I built a wooden form around the top of the hole (see third photo). I then constructed a tripod out of 2″x4″ wooden studs to ensure that the pole maintained level during the concrete pour (see fourth photo). After installing additional rebar in the base and center of the pole, I started mixing the first of 10 bags of Quickcrete (no crack recipe with chopped fiber). After 3 hours of mixing, pouring, and tamping concrete (including pouring concrete down the center of the pole using a make-shift funnel), I ended up with what you can see in the sixth photo below.
 .
.

April 18, 2016
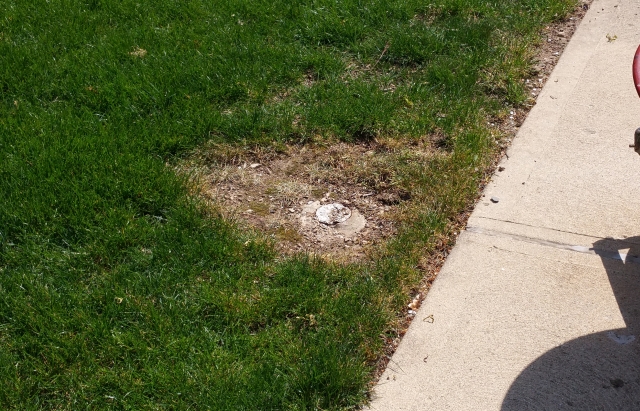
The basketball hoop & pole for our home court that I installed 22 years ago finally gave way (the 3″ diameter metal pole rusted-through). I’ve ordered a new in-ground pole and backboard, which requires that the previous concrete base be removed. As you can see from the first photo below, the metal pole snapped right at the base, and the grass has grown over most of the concrete.
Naturally, the first step, as shown in the second photo below, was to remove all of the soil around the concrete base. While it was challenging, I used a couple of 4′ long crowbars to help pry the 400 pounds of concrete out of the hole (see the third photo). The fun part was using some engineering skills to determine a reasonable way of getting the huge block of concrete into the wheelbarrow. As you can see from the fourth photo, I leveraged the technique that the Egyptians and Israelites used in building the pyramids — a slight incline plane. After all was said and done, I ended up with a hole just about ready for the new 4″ square pole. (Note: I did all of this work solo).

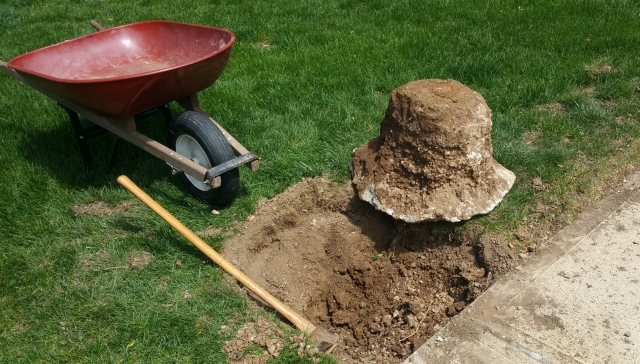
Breaking my back getting concrete out of the hole

Creative ramp (from old solid door) for rolling concrete into wheelbarow

An outstanding weekend job. Next on the agenda will be to raise a barn in Colorado.
Actually that is the affordable deal. Thanks for the money saving information.
Thanks for such an informative blog.